


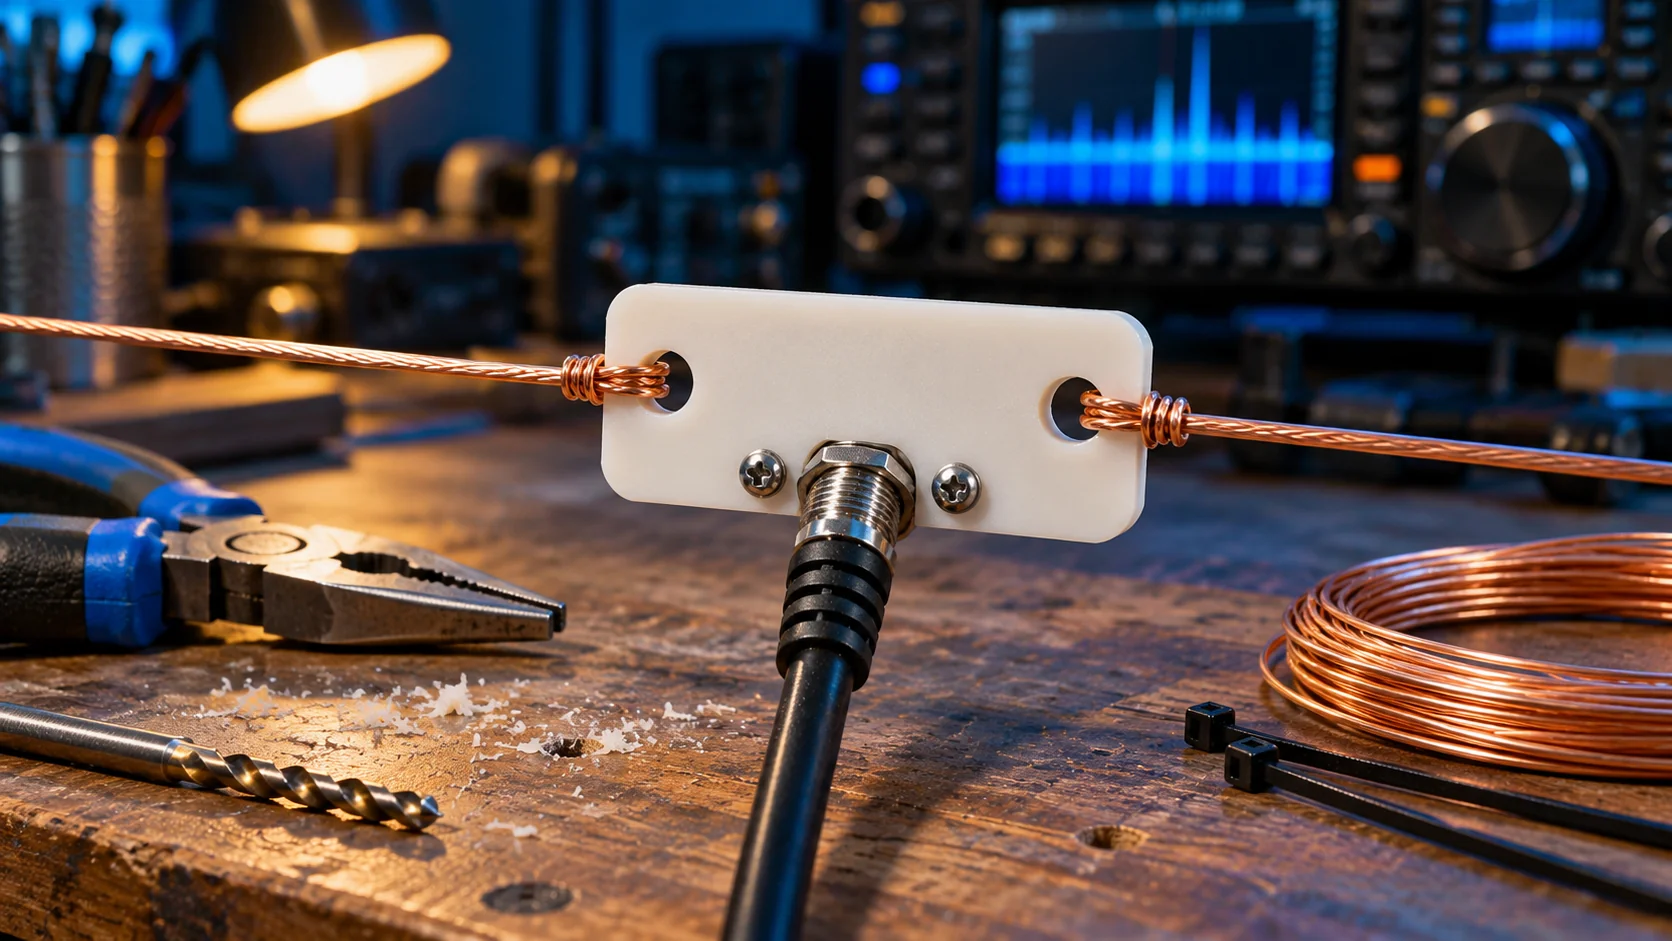
The center insulator joins the two legs of a dipole and provides an anchor point for the feedline connection. Its most important mechanical job is to take the wire tension so that the load does not fall on the electrical connections.
Choose the material
For a simple design, a strong insulating plate suited to the installation conditions will do. Outdoors, resistance to moisture, sunlight and temperature matters.
If the part is 3D-printed, the properties of the plastic need separate consideration. A material that works for an indoor holder will not necessarily withstand long-term tension in the sun.
Lay out the mounting points
Provide separate holes for the two antenna legs and for the center support. The holes should not be too close to the edge.
Smooth any sharp edges so that the wire or rope cannot chafe against the plate.
Take the strain off the connections
Secure each wire mechanically, leaving a short slack section before the connection point. The coaxial cable also needs its own support so that its weight does not pull on the joint.
When the dipole is fed directly, the coax center conductor goes to one leg and the braid to the other. The connections must be protected from water.
Don't confuse the insulator with a balun
A plain plate does not stop current flowing on the outside of the braid. To limit such currents, you may need a separate current choke rated for the operating frequencies and power.
Check before raising it
Inspect the mounts, check the electrical connections and make sure there is no accidental short. On a simple dipole without extra matching components, there must be no direct contact between the center conductor and the braid.
Once installed, the antenna must be measured and tuned in its operating position. The insulator only provides the mounting; it does not determine the correct leg length.